

Manuf Process
LED Screen Manufacturing Process: Explore Enbon's latest advancements in LED display development, production, and chip testing technology


LED Screen Manufacturing Process: Explore Enbon's latest advancements in LED display development, production, and chip testing technology
As a leading LED display manufacturer in China, Enbon products cover two series of direct plug-in (DIP) and SMD surface mount, which fully meets the requirements of different point spacing, visual distance, brightness and environmental requirements for applications. Established a complete product development, production and quality management system, It has 8 fully-automatic imported SMT production lines, 4 fully-automatic printing machines, and 2 fully automatic drying lines for outdoor products, which can fully meet the needs of different orders and specifications.The products have passed CCC, FCC, CE, IAF, ROHS and other international Standard certification, product and enterprise qualification certification, product test report and patent certificates are complete.
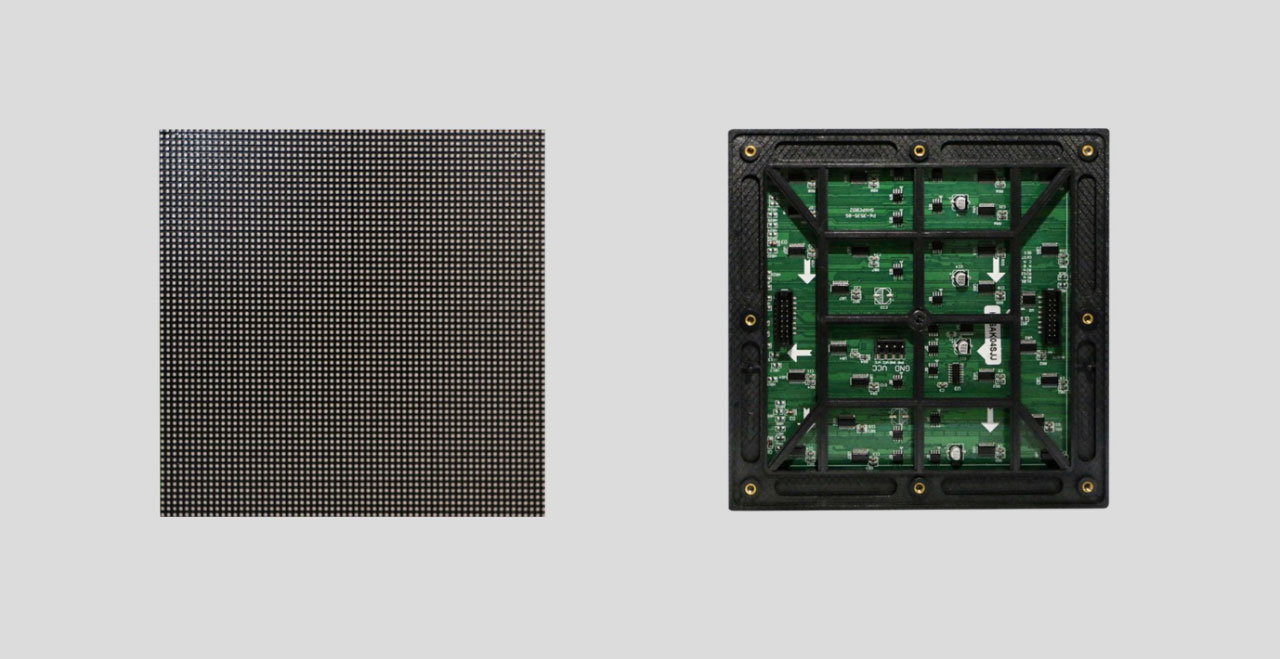
Whether there is mechanical damage and pitting pits on the surface of the material (lockhill chip size and electrode size is in line with the process requirements electrode pattern is complete).
Because the LED electronic display chip is still arranged closely after the slice is small (about 0.1mm), it is not conducive to the operation of the post-process. We used a reamer to expand the film of the bonded chip, so that the spacing of the LED chip was stretched to about 0.6mm. Manual expansion can also be used, but it is easy to cause chip drop waste and other undesirable problems.
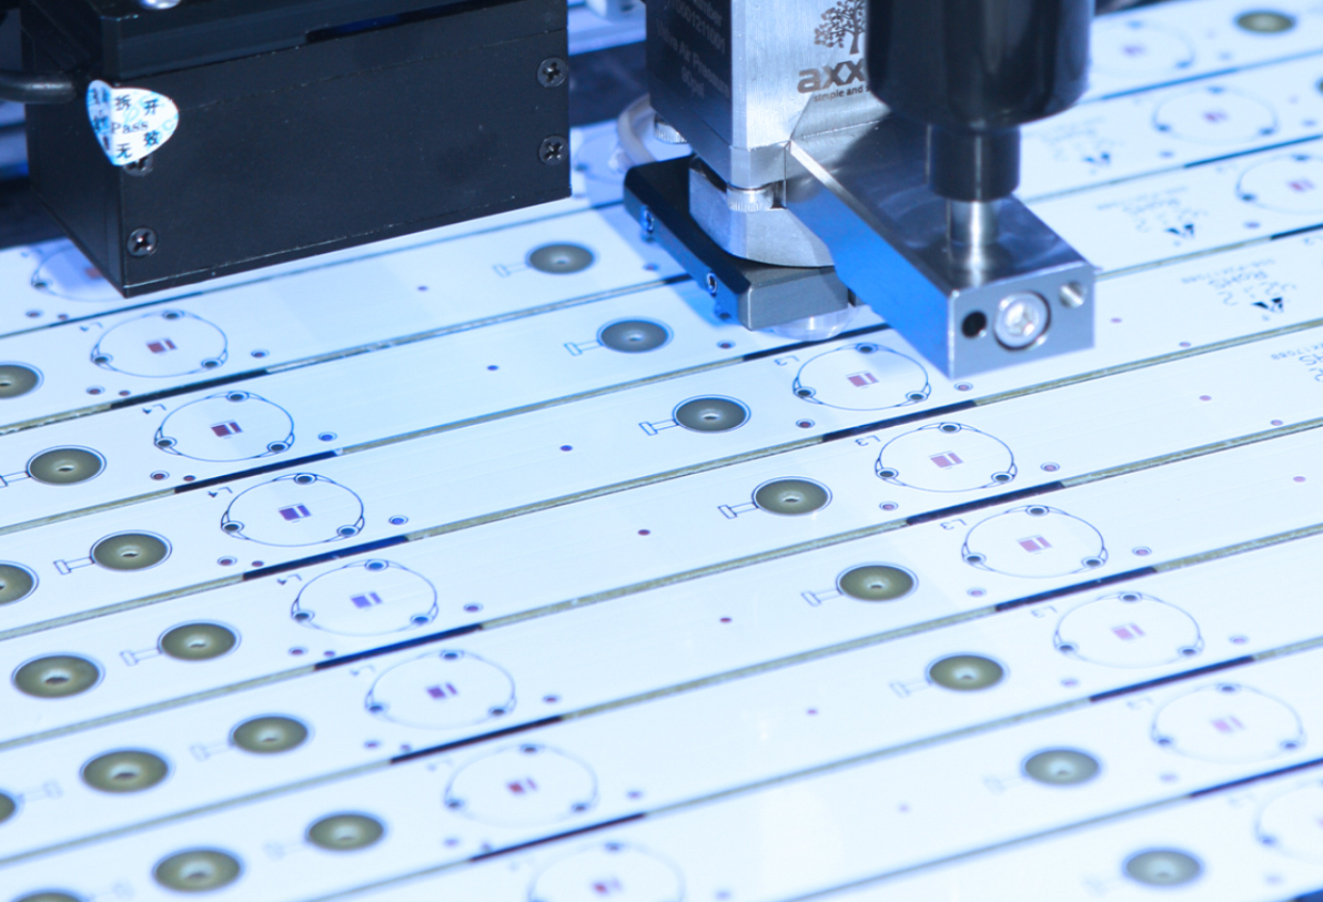
Silver glue or insulating glue is placed on the corresponding position of the LED display bracket. (For GaAs, SiC conductive substrate, red light, yellow light, yellow green chip with back electrode, silver glue is used. For blue light and green LED chips with sapphire insulating substrate, insulating glue is used to fix the chips. The difficulty of the process is the control of the amount of glue, in the height of the colloid, the position of the glue is detailed process requirements. As silver glue and insulating glue have strict requirements for storage and use, the awakening, mixing and use time of silver glue are matters that must be paid attention to in the process.
Place the expanded LED chip (with or without glue) on the fixture of the pricking table, put the LED bracket under the fixture, and prick the LED chip one by one to the corresponding position under the microscope with a needle. Compared with automatic mounting, manual chips have one advantage: it is easy to change different chips at any time. It is suitable for products requiring installation of multiple chips.
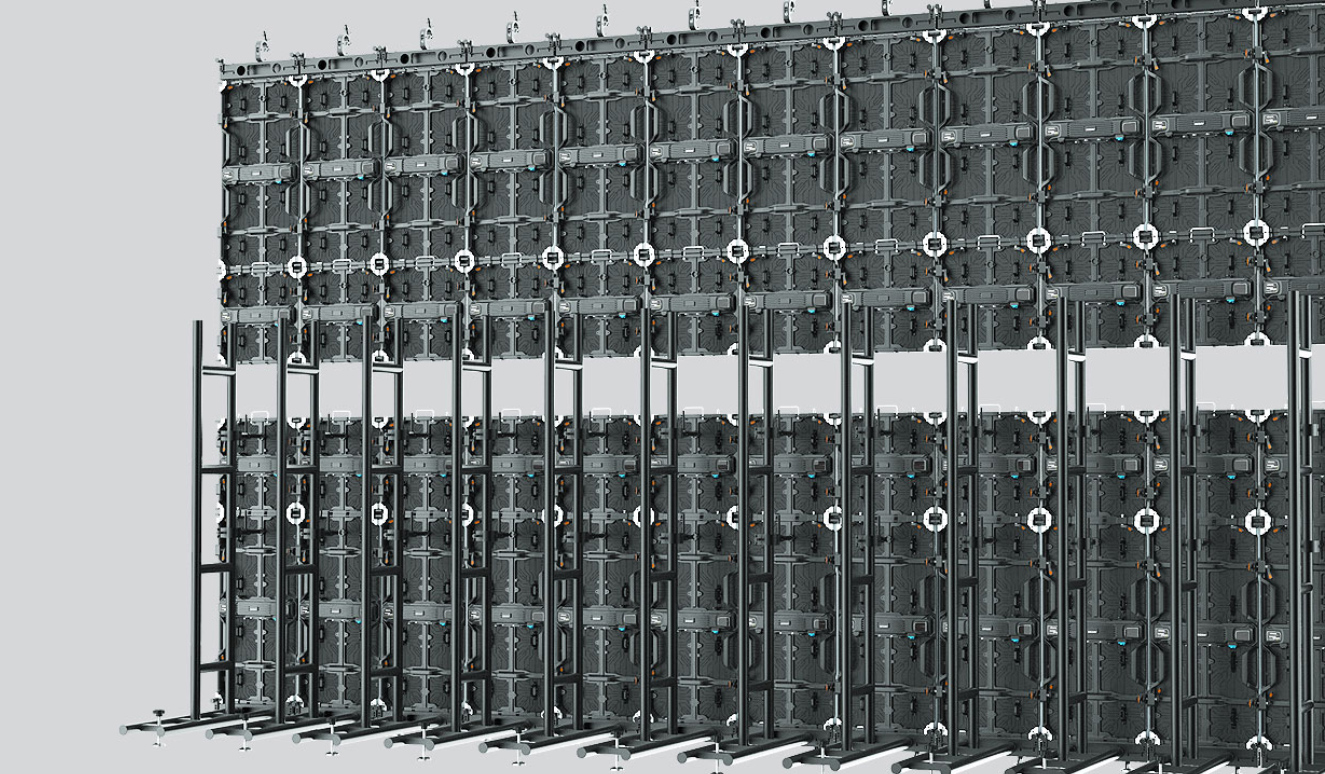
Automatic mounting is actually a combination of glue (dispensing) and chip installation two steps, the first point on the LED bracket silver glue (insulation glue), and then use the vacuum nozzle to suck up the LED chip moving position, and then placed on the corresponding position of the support. In the process of automatic rack installation, we should be familiar with the operation programming of the equipment, and adjust the glue and installation accuracy of the equipment. In the selection of the nozzle as far as possible to choose bakelite nozzle, to prevent damage to the surface of the LED chip, especially blue, green chip, we must use bakelite. Because the nozzle scratches the current diffusion layer on the surface of the chip.
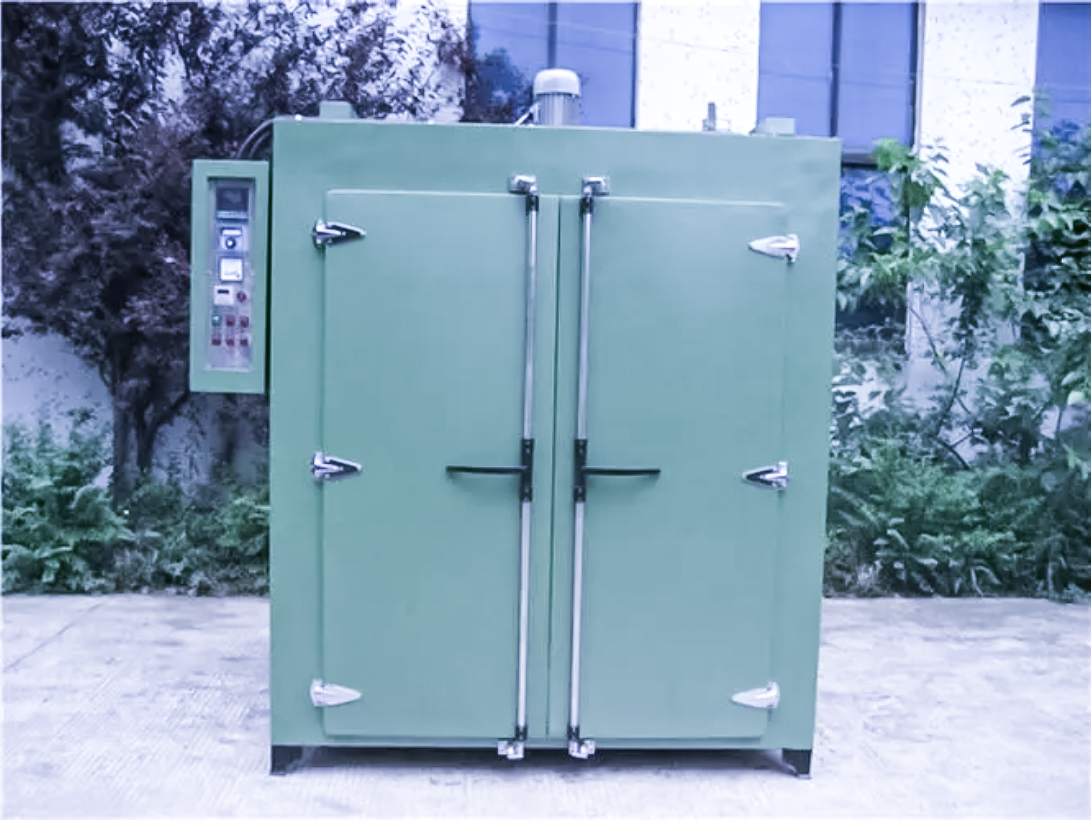
The purpose of sintering is to solidify the silver glue, and sintering requires monitoring of temperature to prevent bad batch quality. The sintering temperature of silver glue is generally controlled at 150℃ and the sintering time is 2 hours. According to the actual situation can be adjusted to 170℃, 1 hour. Insulating glue generally 150℃, 1 hour. Silver glue sintering oven must be opened every 2 hours (or 1 hour) according to the process requirements to replace the sintered products, not open at will in the middle. Sintering oven shall not be used for other purposes to prevent pollution.
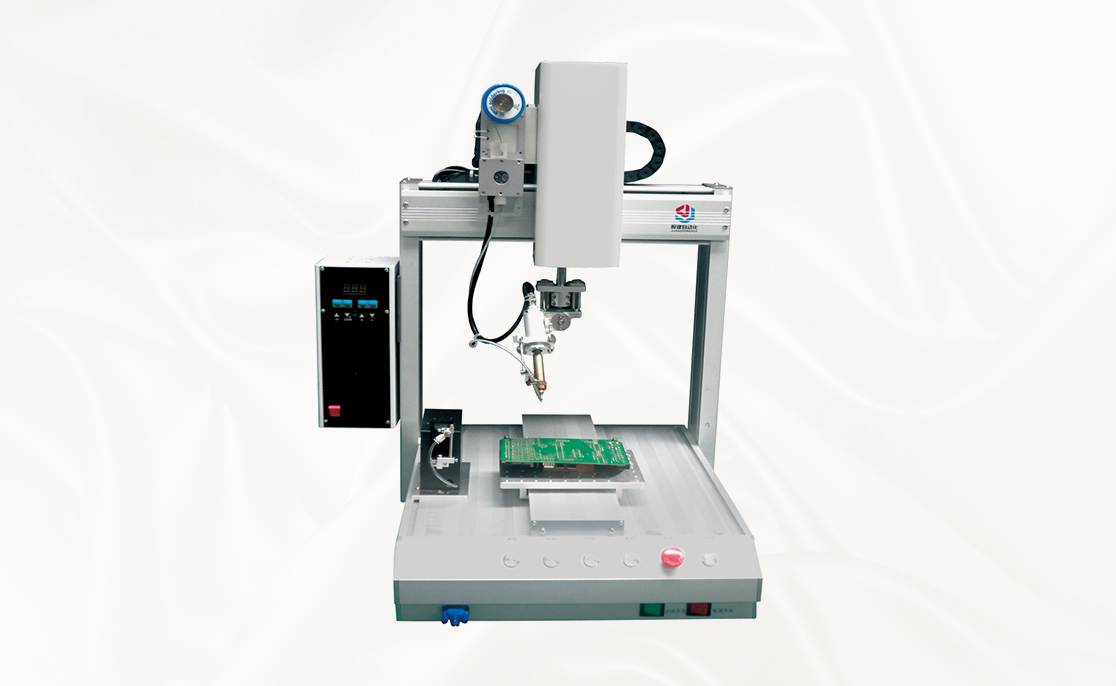
The purpose of pressure welding is to lead the electrode to the LED chip and complete the connection of the internal and external leads of the product. LED display pressure welding process has gold wire ball welding and aluminum wire pressure welding two kinds. First, press the first point on the electrode of the LED chip, then pull the aluminum wire to the corresponding bracket, press the second point, and then pull off the aluminum wire. The process of gold wire ball welding is to burn a ball before pressing the first point, and the rest of the process is similar. Pressure welding is a key link to the packaging technology of LED large screens. The main process that needs to be monitored is the pressure welding of gold wire (aluminum wire) arch wire shape, solder joint shape, tension.
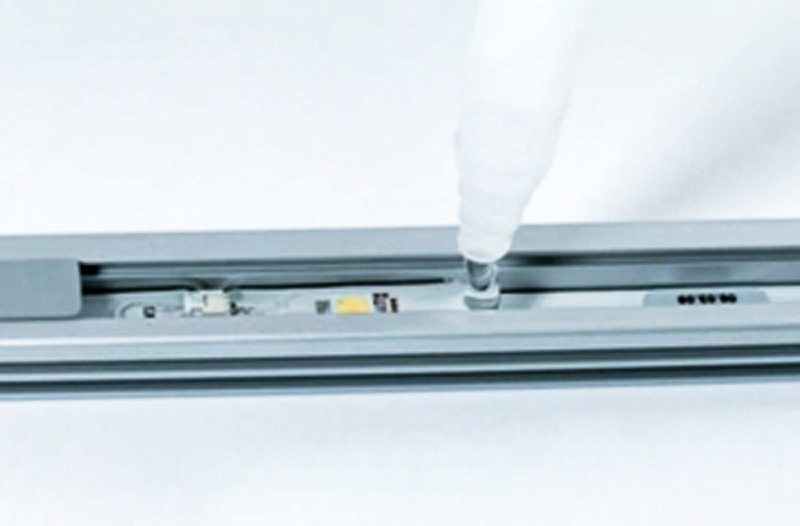
LED electronic display screen packaging uses adhesive, potting, and molding methods. Process control challenges include managing bubbles, material quantity, and black spots. Design focuses on selecting suitable epoxy and support combinations. LED dispensing has TOP-LED and Side-LED options. Manual dispensing requires precise control of epoxy amount. White LED dispensing can have color differences due to phosphor precipitate. LED glue and Lamp-LED encapsulation are common methods. Potting injects liquid epoxy into the molding cavity, curing to mold the LED. LED molding involves filling molds with solid epoxy, which flows into LED grooves and solidifies.
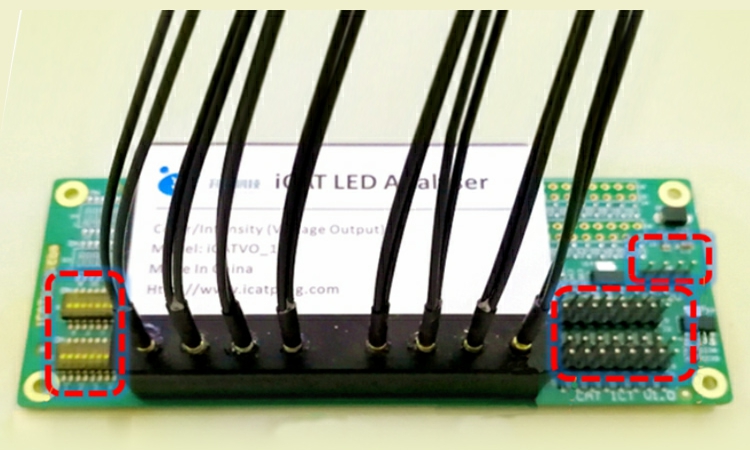
Curing refers to the curing of encapsulation epoxy. Generally, the epoxy curing condition is 135℃, 1 hour. Molded packaging is generally at 150℃ for 4 minutes. Post-curing is to allow the epoxy to cure sufficiently while thermal aging is performed on the LED. Post-curing is very important to improve the bonding strength of epoxy and PCB. The general condition is 120℃ for 4 hours.
Since the LED display screen is connected together in production (not single), Lamp packaging LED adopts rib cutting to cut off the rib of LED bracket. SMD-LED is on a PCB board,and needs to slice the machine to complete the separation work.
Test the photoelectric parameters of LED, check the shape and size, and separate the LED electronic display products according to customer requirements.
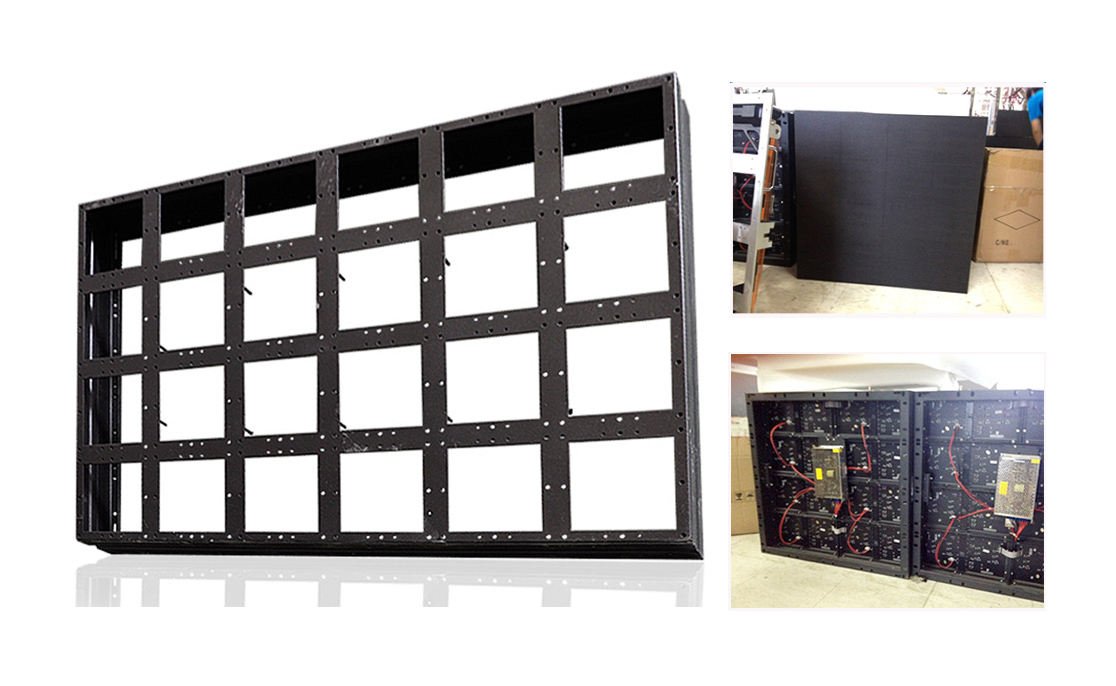
The box is splice of different modules, the flatness of the box and the gap between modules are directly related to the overall effect of the box assembly. Aluminum plate processing box and die-cast aluminum box are widely used box types at present, and the flatness can reach 10 wires. The stitching gap between modules is evaluated by the distance between the nearest pixels of the two modules. If two pixels are too close, a bright line will light up; if two pixels are too far, a dark line will result. Before assembly, it is necessary to measure and calculate the joint of the mold, and then select the relative thickness of the metal sheet as the fixture to insert in advance for assembly.
A LED display waterproof structure production process. Its characteristics are the following steps:
Finished Product Inspection Process